ApiNote guides
How to record income and expenses in ApiNote
Sold honey or bought equipment? Add the transaction once, give it a useful category, and assign it to an apiary or hive when relevant. These steps also explain why an entry may not immediately change the net result.
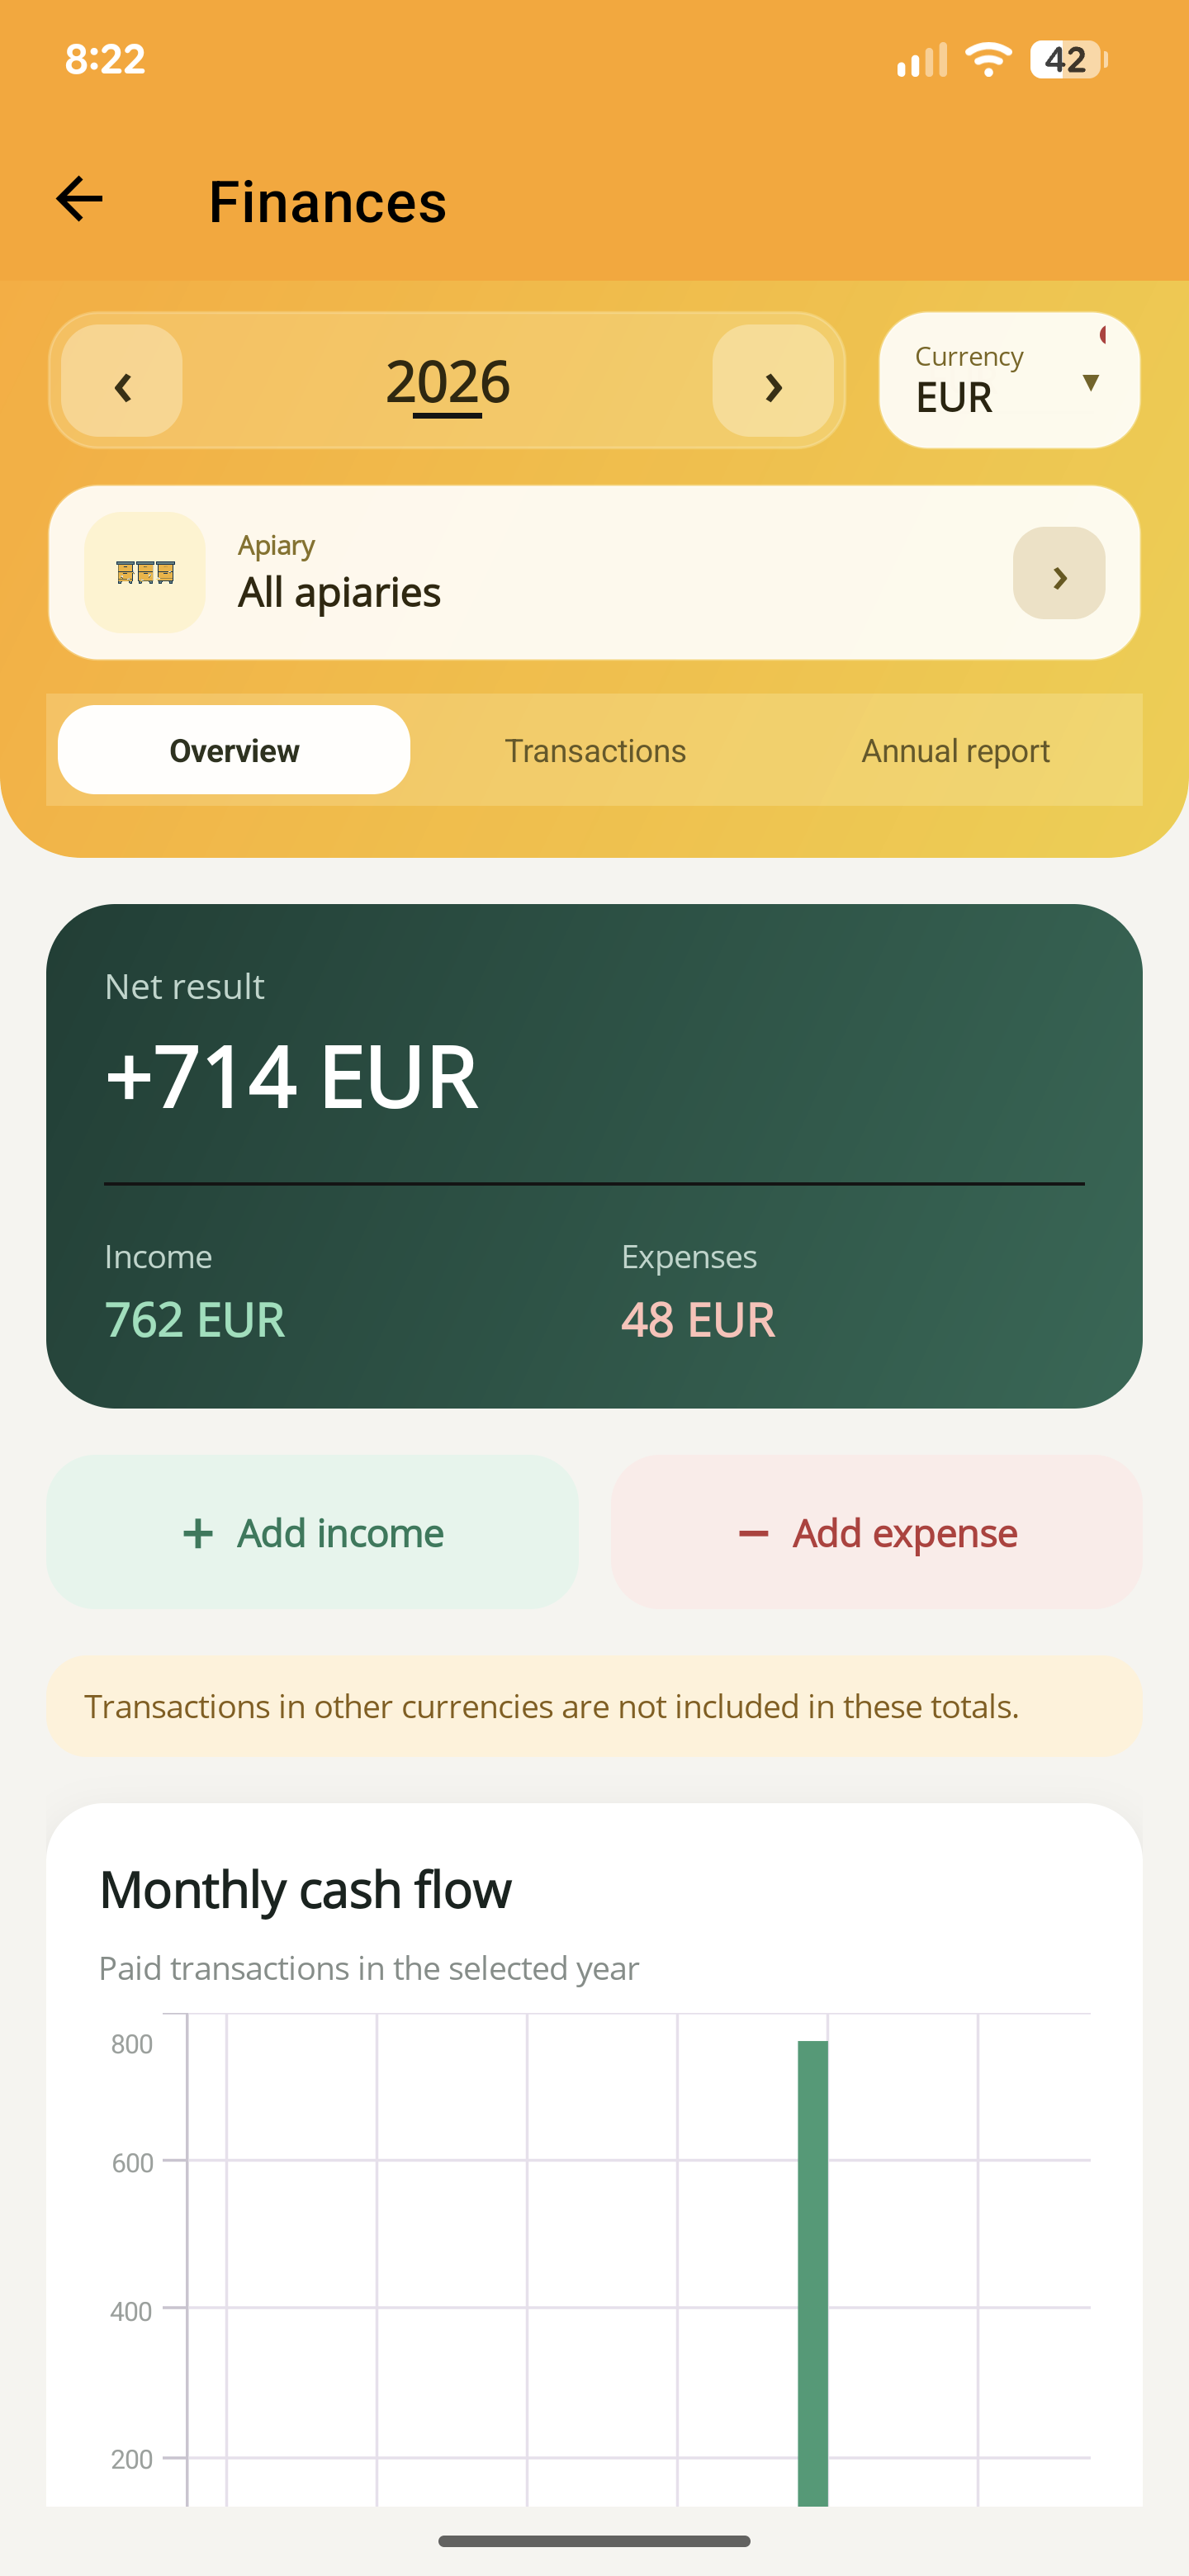
1. Open “Finances” and choose the entry type
Open the side menu and tap “Finances”. From the overview, choose “Add income” for money received or expected, or “Add expense” for a cost.
For example, a honey sale belongs under income; a purchase of jars belongs under expenses. Enter a positive amount in either case. The income or expense type determines which side of the overview the transaction belongs to.
2. Fill in the amount, description and category
Enter the amount and a description you will recognise later, such as “Honey sale at the farm gate”. Choose the category that fits the transaction, then check its date and currency.
For income, available categories include “Honey sales” and “Queens, nucs and colonies”. Expense categories include “Feed, sugar and supplements” and “Jars, packaging and labels”. If you choose an “Other” category, also enter a custom category name.
Amount, description and category are required. A blank description, zero amount or missing custom-category name will stop the entry from being saved.
3. Set “Paid” or “Planned”
Choose the payment method and check “Status”. Use “Paid” when the money has actually been received or paid out. Use “Planned” for an expected transaction that has not yet been paid.
New entries start as paid, so change this deliberately when recording a future purchase or sale. Only paid transactions contribute to the overview totals and cash-flow figures. A planned entry is saved, but does not increase income or expenses in those totals.
4. Assign it to the right part of your operation
Under “Beekeeping context”, choose “General / entire operation”, “Apiary” or “Hive”. If you choose an apiary, select it; if you choose a hive, select its apiary and then the hive.
General is useful for costs shared across your operation. An apiary or hive assignment lets you find the transaction in the corresponding apiary-level view. You can also add document details, such as the customer or supplier, receipt number and a note, when useful.
5. Save the transaction and check it
Tap “Save transaction”, then open “Transactions” to find the entry. Open an existing transaction if you need to correct its details or change a planned entry to paid after payment.
Return to “Overview” and check the year, currency and apiary filters. The summary groups recorded income and expenses and shows the net result. Scroll down for the category breakdown.
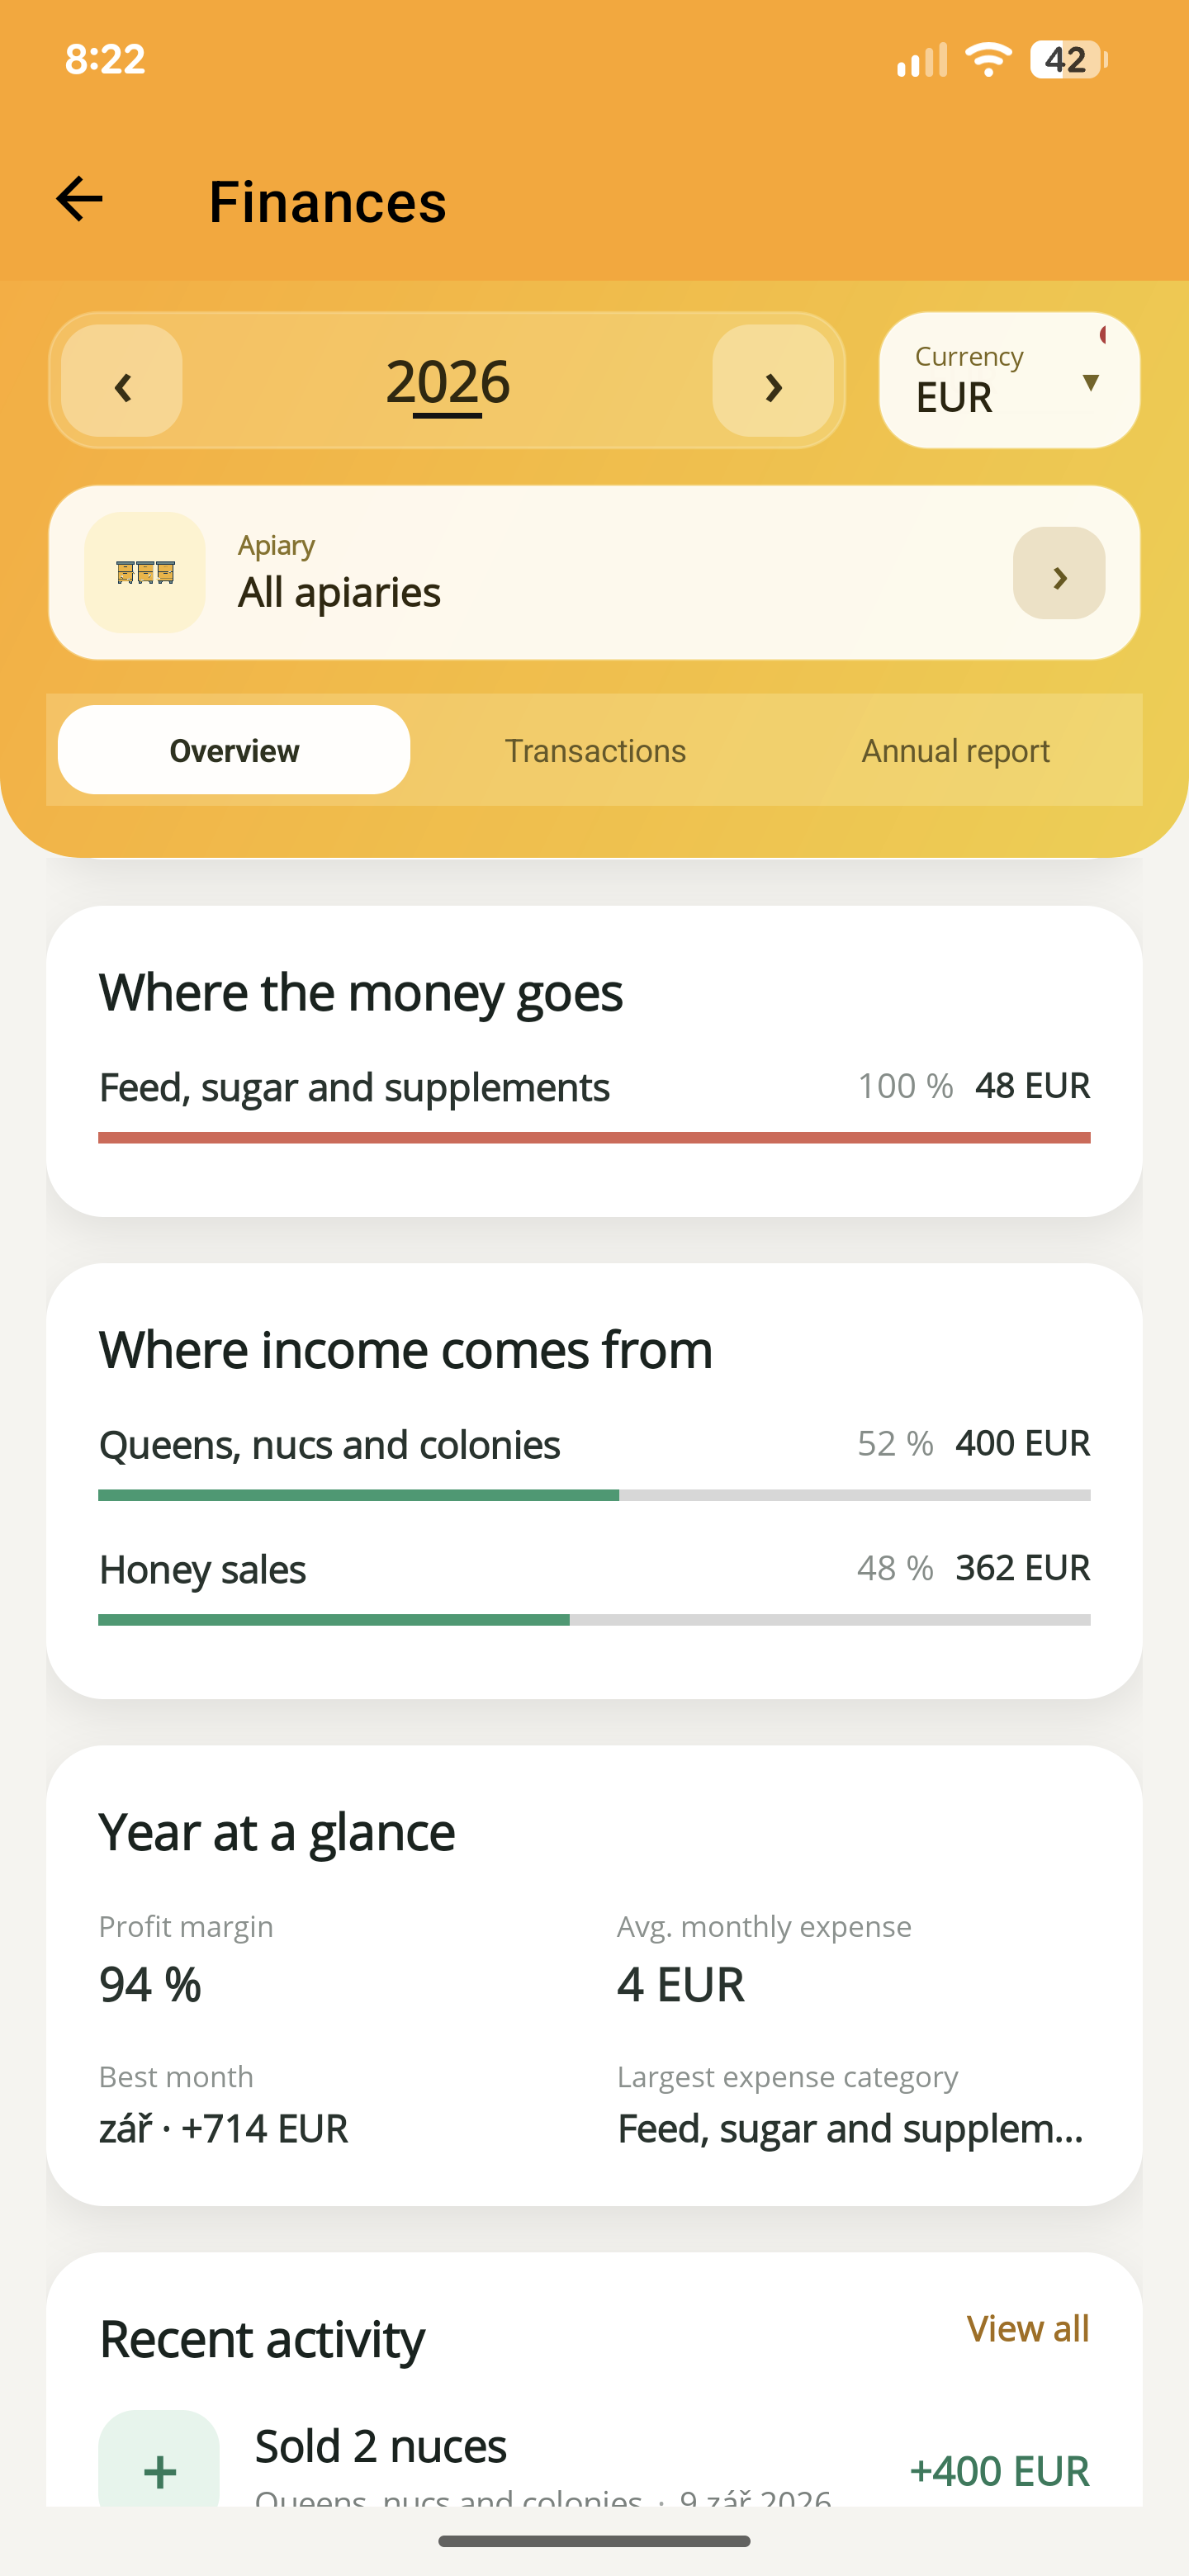
If your totals have not changed
Check the saved transaction before adding it again. These are the first things to verify:
- Status: a planned transaction is not included in paid totals.
- Year: the entry’s date must fall in the year selected on the dashboard.
- Currency: totals include only the selected currency; other currencies are not automatically converted.
- Apiary: switch to “All apiaries” to check for an entry assigned elsewhere or recorded as general.
ApiNote · iOS & Android
Good notes make the next visit easier.
Give every colony a history you can find again. ApiNote is available for iOS and Android, free for up to five hives.
Compare Free & ProKeep exploring
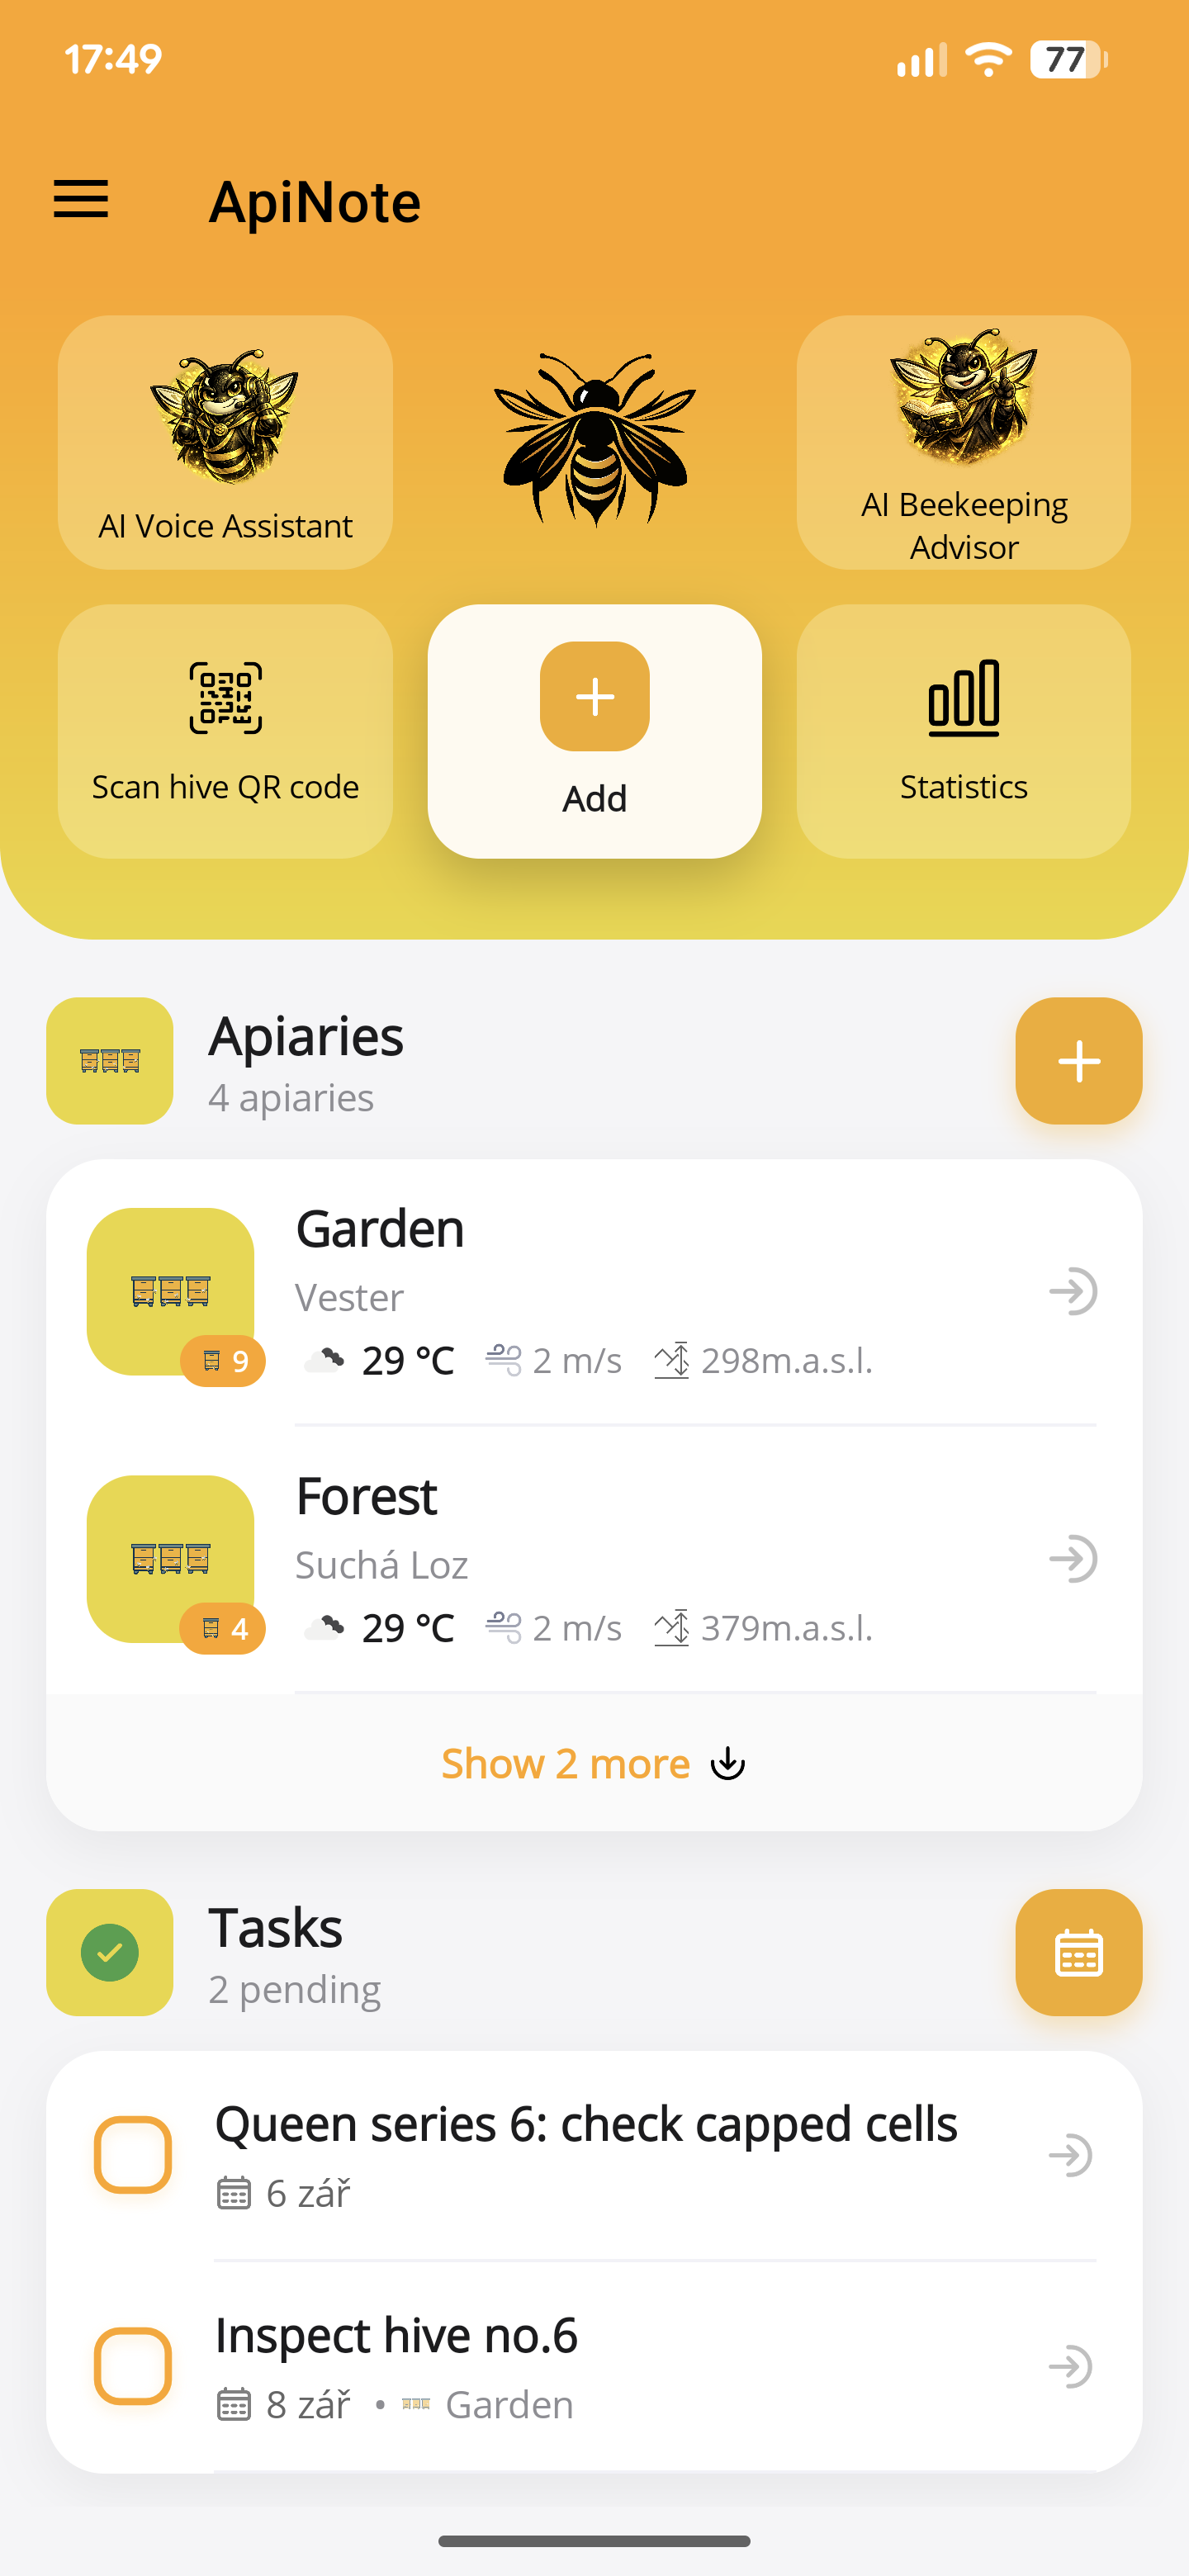
How to create a hive task and reminder in ApiNote
Turn a follow-up check into an ApiNote task. Choose the hive, set a date and optional phone reminder, then mark the work complete in your calendar.
Updated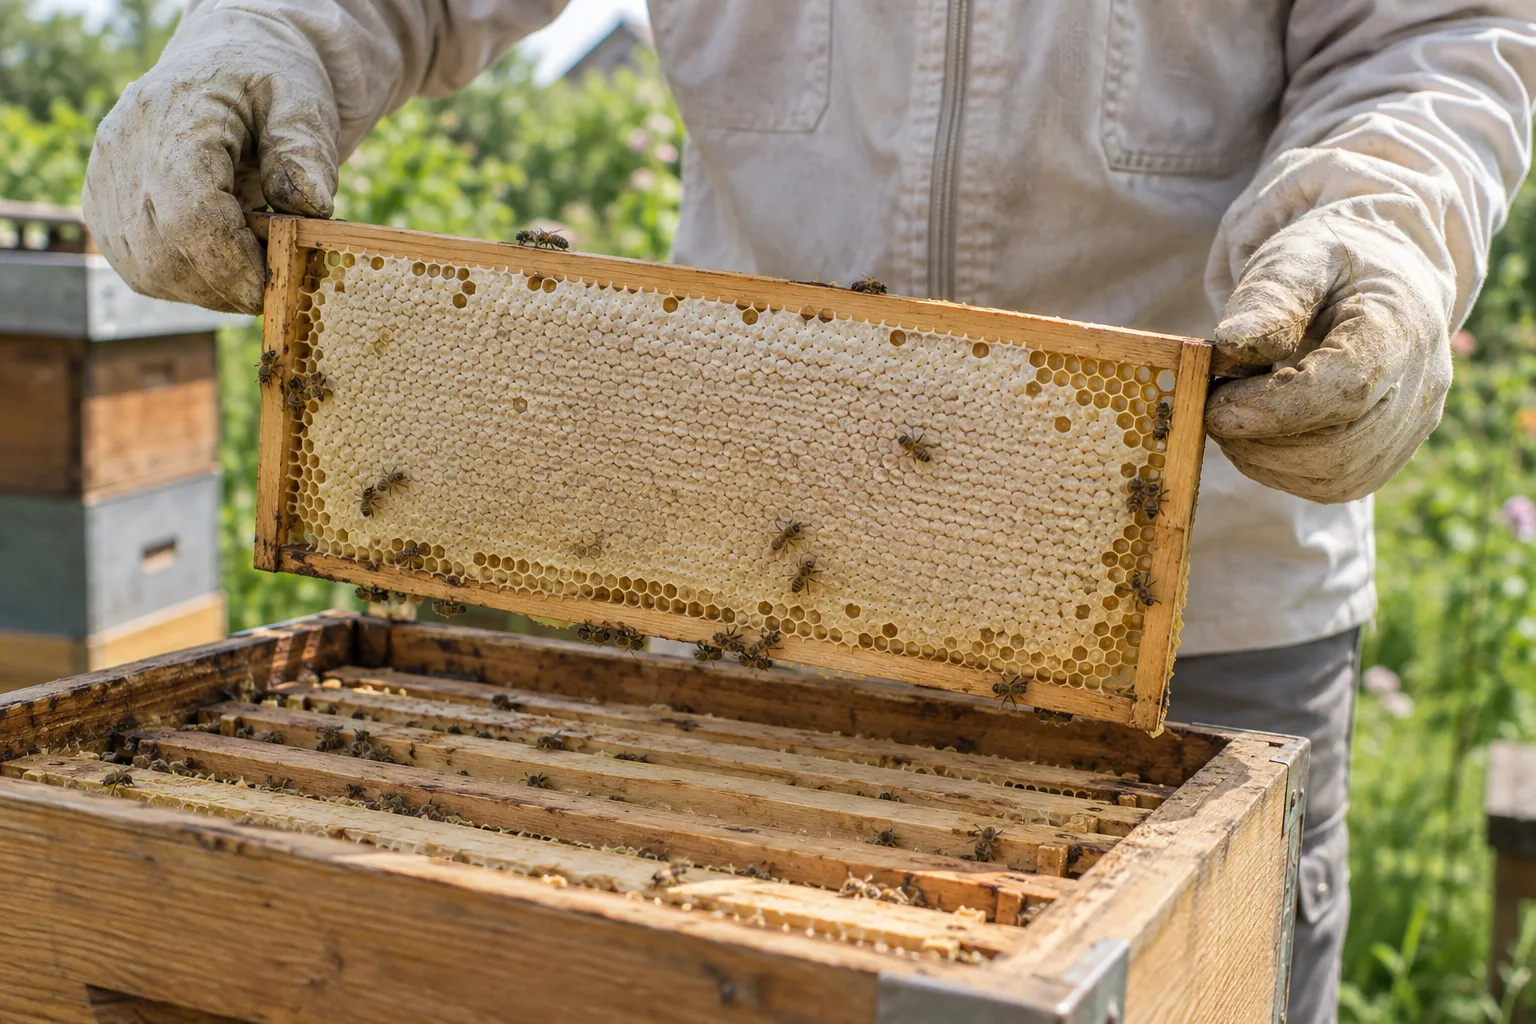
Make sense of your beekeeping statistics
Compare honey harvests and colony records without confusing missing data with poor performance. A practical guide to using ApiNote statistics and CSV export.
UpdatedYour first apiary in ApiNote: a practical setup guide
Set up your apiary, add your first hives and save an inspection in ApiNote. A practical introduction to the free beekeeping app for iOS and Android.
Updated